
Buying a used car in California is a smart way to beat vehicle depreciation, but the Golden State has some of the strictest consumer protection laws, environmental regulations, and specific tax rules in the country. Missing a single form or failing to check a vehicle's smog history can instantly turn a great deal into an expensive, bureaucratic nightmare.
Whether you are buying a commuter sedan in Los Angeles or an off-road truck in Sacramento, this comprehensive, step-by-step guide walks you through exactly how to safely navigate the California used car market, protect your cash, and handle the DMV paperwork like a pro.
Step 1: Establish Your Total Budget (The True Cost)
When budgeting for a used car in California, your target number isn't just the sticker price on the windshield. California's tax and fee structure can easily add 10% to 13% to the final cost of the vehicle.
Before you start browsing listings on CarListingHub.com, ensure your budget leaves room for the out-the-door essentials:
- California Use Tax (Sales Tax): Ranging from 7.25% to over 10.25% depending on your city and county of residence (not where you bought the car).
- DMV Registration Fees: Includes a base registration fee ($76), a California Highway Patrol (CHP) fee ($34), a value-based Vehicle License Fee (0.65% of the purchase price), and a Transportation Improvement Fee (TIF) based on a tiered value structure.
- Insurance Surcharges: California is one of the highest-premium insurance markets in the country. Get insurance quotes for your target vehicle models before making an offer.
Step 2: Source and Screen Potential Vehicles
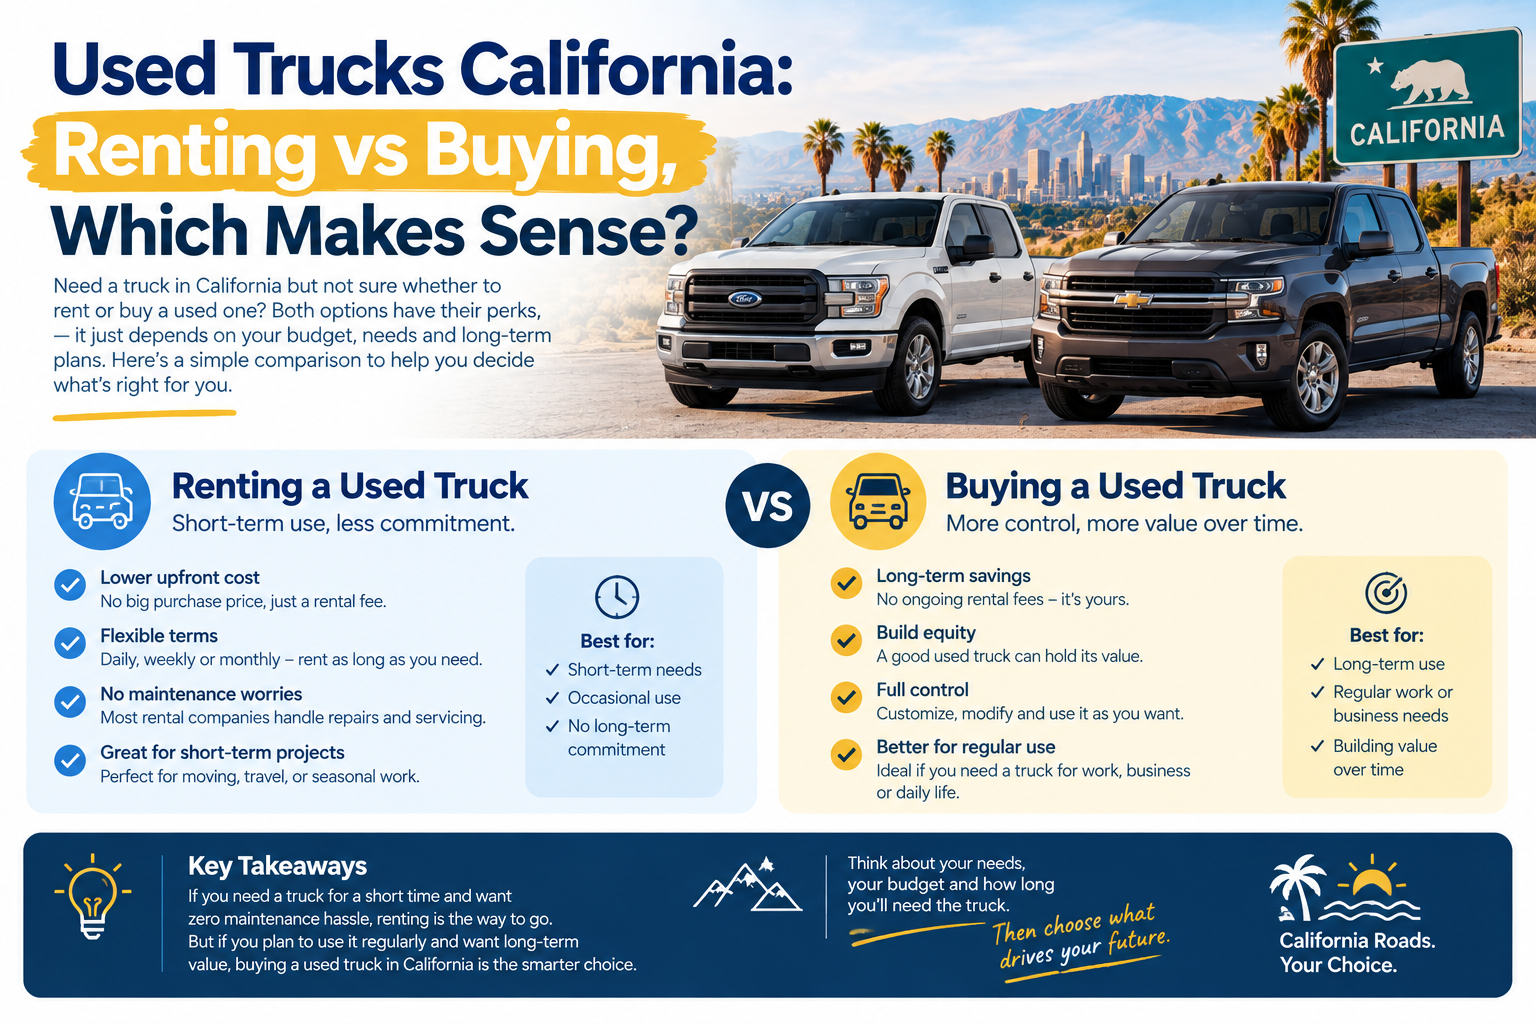
Finding the right vehicle requires filtering out high-risk listings early. You can search verified private party listings and local dealership inventories on platforms like CarListingHub.com.
When screening vehicles online, filter out high-risk scenarios by following these rules:
- Beware of "Curbstoners": These are unlicensed, illegal dealers pretending to be private sellers. They often flip salvage-title or flood-damaged cars. If the seller’s name isn’t on the car's title, walk away.
- Request the VIN Early: Always ask the seller for the Vehicle Identification Number (VIN) before scheduling an in-person meeting. Use this number to pull a vehicle history report.
Step 3: Run a Comprehensive Vehicle History Report
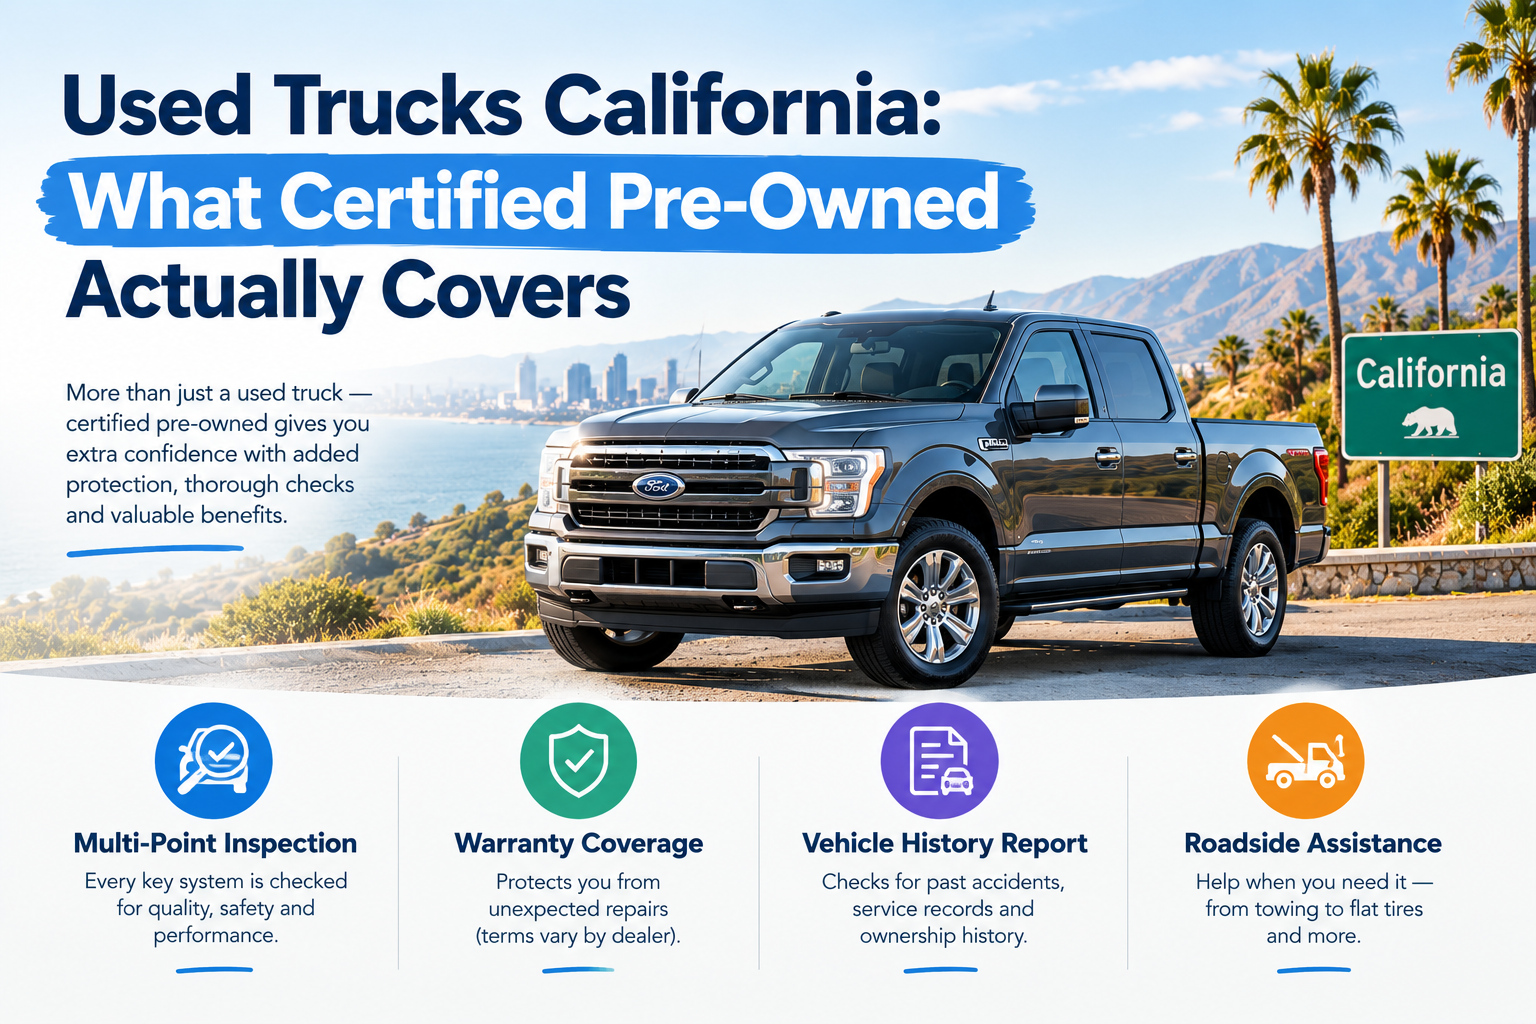
Never buy a used car in California without reviewing a detailed history report via Carfax, AutoCheck, or the National Motor Vehicle Title Information System (NMVTIS).
When analyzing the report, look closely for these California-specific red flags:
The "Salvage" Title Warning
If a vehicle has been involved in an accident where the cost of repairs exceeded its actual market value, the insurance company declares it a total loss. The California DMV then issues a pink-colored "Salvage Title." While these cars are cheap, they can have hidden structural compromises, are incredibly difficult to insure, and carry a much lower resale value.
Lemon Law Buybacks
California has robust consumer protection laws. If a car was bought back by the manufacturer due to persistent, unfixable defects, it will be branded as a "Lemon Law Buyback." If you see this on the report, understand that you are inheriting a vehicle with a documented history of manufacturing flaws.
Title Jumping
Look at the date of the last title issuance and compare it to how long the current seller claims to have owned the car. If the vehicle changed hands recently without a corresponding DMV registration update, the seller may be attempting to "jump" the title to avoid paying sales tax and registration fees.
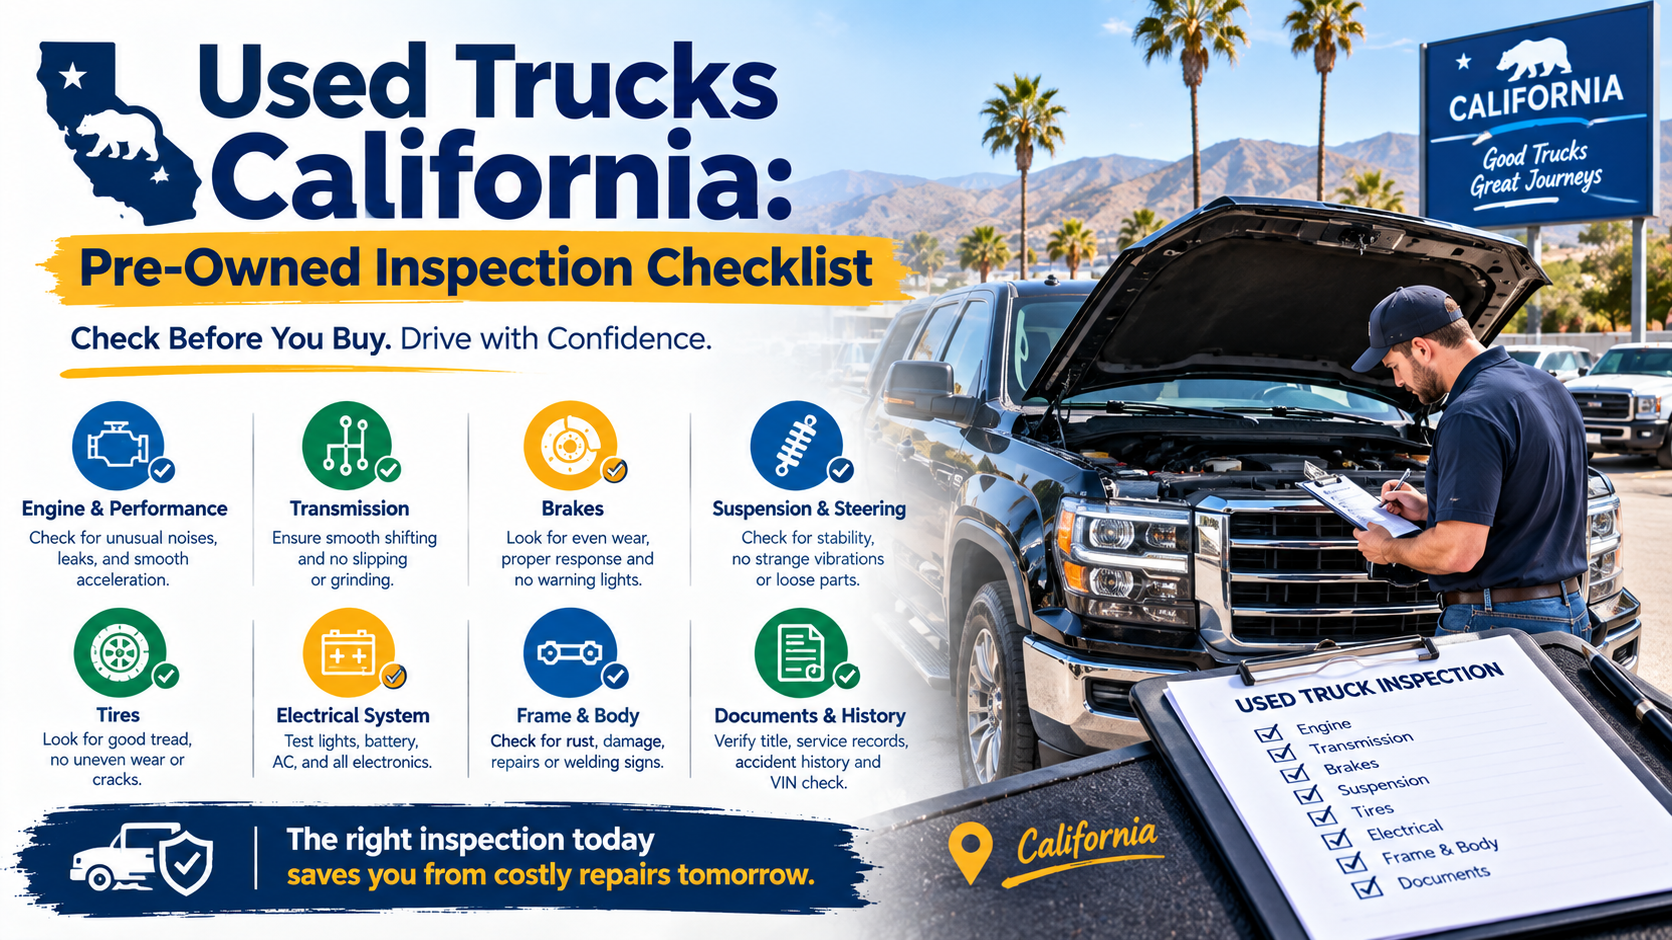
Step 4: Perform a Rigorous Physical Inspection
Once a car passes the digital screening process, schedule an in-person viewing during broad daylight. Never inspect a car in the rain or under dim evening parking lot lights, as water droplets and shadows easily hide body damage, mismatched paint, and frame ripples.
Use this foundational 5-point checklist during your initial walkaround:
- Fluid Check: Pull the engine oil dipstick. If the oil looks like a milky coffee, water or coolant is leaking into the engine, indicating a blown head gasket. Check the transmission fluid; it should be translucent red, not burnt black or gritty.
- The Magnet Test: Run a small, weak magnet along the lower doors, rocker panels, and rear wheel wells. If the magnet drops off or feels weak in specific spots, it indicates that those panels are filled with body filler (Bondo) rather than real metal.
- Tire Wear Patterns: Inspect the tread across all four tires. If the inner or outer edges are significantly more worn down than the center, the car has severe wheel misalignment or bent suspension components.
- The Tailpipe Check: Have the seller start the engine cold while you watch the exhaust. Wispy white vapor that clears up quickly is normal condensation. Thick blue smoke means the engine is burning oil (worn piston rings); heavy gray/black smoke indicates a fueling issue; persistent thick white smoke means burning coolant.
- Electronic Scan: Plug a simple OBD2 pocket scanner into the port underneath the dashboard. Even if the Check Engine Light isn't glowing on the dash, the scanner will reveal if the vehicle has "pending codes" or if the seller recently cleared the codes to temporarily hide an active engine malfunction.
Step 5: Master the Pre-Purchase Inspection (PPI)
Your personal walkaround is designed to filter out obviously broken cars. If you love the vehicle and are ready to make an offer, you must invest in a professional Pre-Purchase Inspection (PPI).
[Vehicle Selection] ➔ [Initial Walkaround] ➔ [Professional PPI] ➔ [Final Negotiation]
Take the vehicle to an independent, certified mechanic—not one recommended by the seller. Expect to pay between $150 and $250 for a PPI. This is the single best insurance policy you can buy. If the mechanic finds hidden problems (such as a leaking rear main seal or worn brake rotors), you can use the itemized repair estimate as hard leverage to negotiate the purchase price downward. If the seller refuses to let you take the car to a mechanic, consider it a deal-breaker and walk away.
Step 6: Verify the California Smog Certification
In California, structural and mechanical soundness means nothing if the car cannot pass a smog check. State law mandates that the seller must provide the buyer with a valid smog certification that is no more than 90 days old at the time of the sale.
Critical Legal Warning: Under California Vehicle Code Section 24007, it is the legal responsibility of the seller to ensure the vehicle passes smog before the sale is finalized. Do not buy a car that hasn't passed smog under the promise that "it just needs a cheap sensor" or that you can handle it later. If you buy a non-compliant car, you are legally stuck paying the repair bills to make it pass.
There are only a few select exceptions to this rule. Check below to see if the car you are buying is exempt from the biennial smog check:
- Gasoline-powered vehicles manufactured in the 1975 model year or older.
- Diesel-powered vehicles manufactured in the 1997 model year or older, or those with a Gross Vehicle Weight Rating (GVWR) of more than 14,000 pounds.
- Electric vehicles (EVs) and hydrogen fuel cell motorcycles/vehicles.
- Newer gas-powered vehicles that are less than 8 model years old (though the buyer must pay an $25 smog abatement fee during the title transfer process).
- Transfers between immediate family members (parents, grandparents, children, siblings, spouses, or domestic partners), provided the vehicle's registration is current.
Step 7: Execute the Transfer Paperwork Safely
When buying from a private party, you must complete the transfer paperwork meticulously to ensure the title transfers legally and cleanly into your name.
- Verify and Sign the Title: Check the front panel. Ensure the seller signs the front of the Certificate of Title (often called the "pink slip") on Line 1. Verify that the seller's name exactly matches their government-issued ID. If there is a lienholder listed (like a bank), ensure they have signed the title to release their legal claim on the vehicle.
- Complete the Bill of Sale (Form REG 135): Document the purchase details. Fill out the official California DMV Bill of Sale. Both you and the seller must fill out your physical addresses, the exact date of the sale, the finalized purchase price, and the signatures. This form acts as your official receipt and determines how much use tax you will pay.
- Fill Out the Odometer Disclosure: Required for vehicles under 20 years old. If the vehicle is less than 20 years old, fill out the odometer disclosure section directly on the title or use a separate Transfer of Title / Odometer Disclosure form (REG 262). Enter the exact mileage displayed on the dashboard without rounding numbers.
- Collect the Smog Certificate: Ensure it is within the 90-day window. Obtain the physical copy of the passing smog check inspection or confirm online via the Bureau of Automotive Repair (BAR) portal using the vehicle's license plate or VIN that the certification was transmitted electronically within the past 90 days.
- Obtain the Seller's Transfer Notice: Protect yourself from prior liabilities. Ensure the seller submits their Notice of Transfer and Release of Liability (REG 138) online or via mail within 5 days of the sale. This formally releases them from any future parking tickets, toll violations, or accidents caused by the vehicle after you drive it away.
Step 8: Visit the DMV and Finalize Registration
You have a strict window of 10 days from the date of purchase to submit the completed title, Bill of Sale, and smog certification to the California DMV to transfer ownership into your name. Failing to register the car within this 10-day window results in automated monetary late penalties.
When you arrive at the DMV windows, prepare to pay the comprehensive breakdown of California transfer fees:
Fee Type : Approximate Cost / Calculation Method
Title Transfer Fee : $26 to $28 base processing charge
California Use Tax : 7.25% to 10.25%+ (Based on your home ZIP code)
Vehicle License Fee (VLF) : 0.65% of the vehicle's adjusted purchase value
Transportation Improvement Fee (TIF) : Tiered fee ($33 to $245) based on current vehicle valuation brackets
Smog Abatement Fee : $25 (Only applicable if the vehicle is within its 4-to-8-year smog exemption window)
Once you pay these fees and pass the paperwork validation, the DMV clerk will hand you your new registration card, updated expiration decals, and mail your official California Certificate of Title within 4 to 6 weeks.
Step 9: Post-Purchase Safeguards
Now that the car is officially yours and registered legally in the state of California, take care of these final items before hitting the road:
- Update the FasTrak Transponder: If you commute through the Bay Area, Los Angeles, or San Diego, log into your FasTrak account and add your new vehicle's license plate number immediately to avoid automated toll evasion penalties.
- HOV Lane Verification: Keep in mind that California's Clean Air Vehicle (CAV) decal program for single-occupant EV carpool access has officially ended. If you bought a used electric vehicle or hybrid, you must follow standard occupancy requirements to drive in HOV lanes unless you are actively paying the required toll fees using an Express Lane transponder.
- Perform Baseline Maintenance: Unless the seller provided explicit, dated receipts for recent work, change the engine oil, cabin air filters, and engine air filters right away. Establishing a clean maintenance baseline gives you peace of mind and protects your new investment for miles to come.
Looking to find your next reliable ride? Browse through thousands of verified local private party listings and trusted dealership inventories across the Golden State on CarListingHub.com today!